We researched several types of siding, and decided to go with Certainteed Monogram Vinyl Siding and Certainteed Cedar Impressions. Steve has worked with Certainteed in the past, and liked the quality and installation. Once the siding was delivered, we were able to store all the materials in the garage, which was fantastic!
 |
| Certainteed Vinyl Siding |
 |
| Certainteed Cedar Impressions |
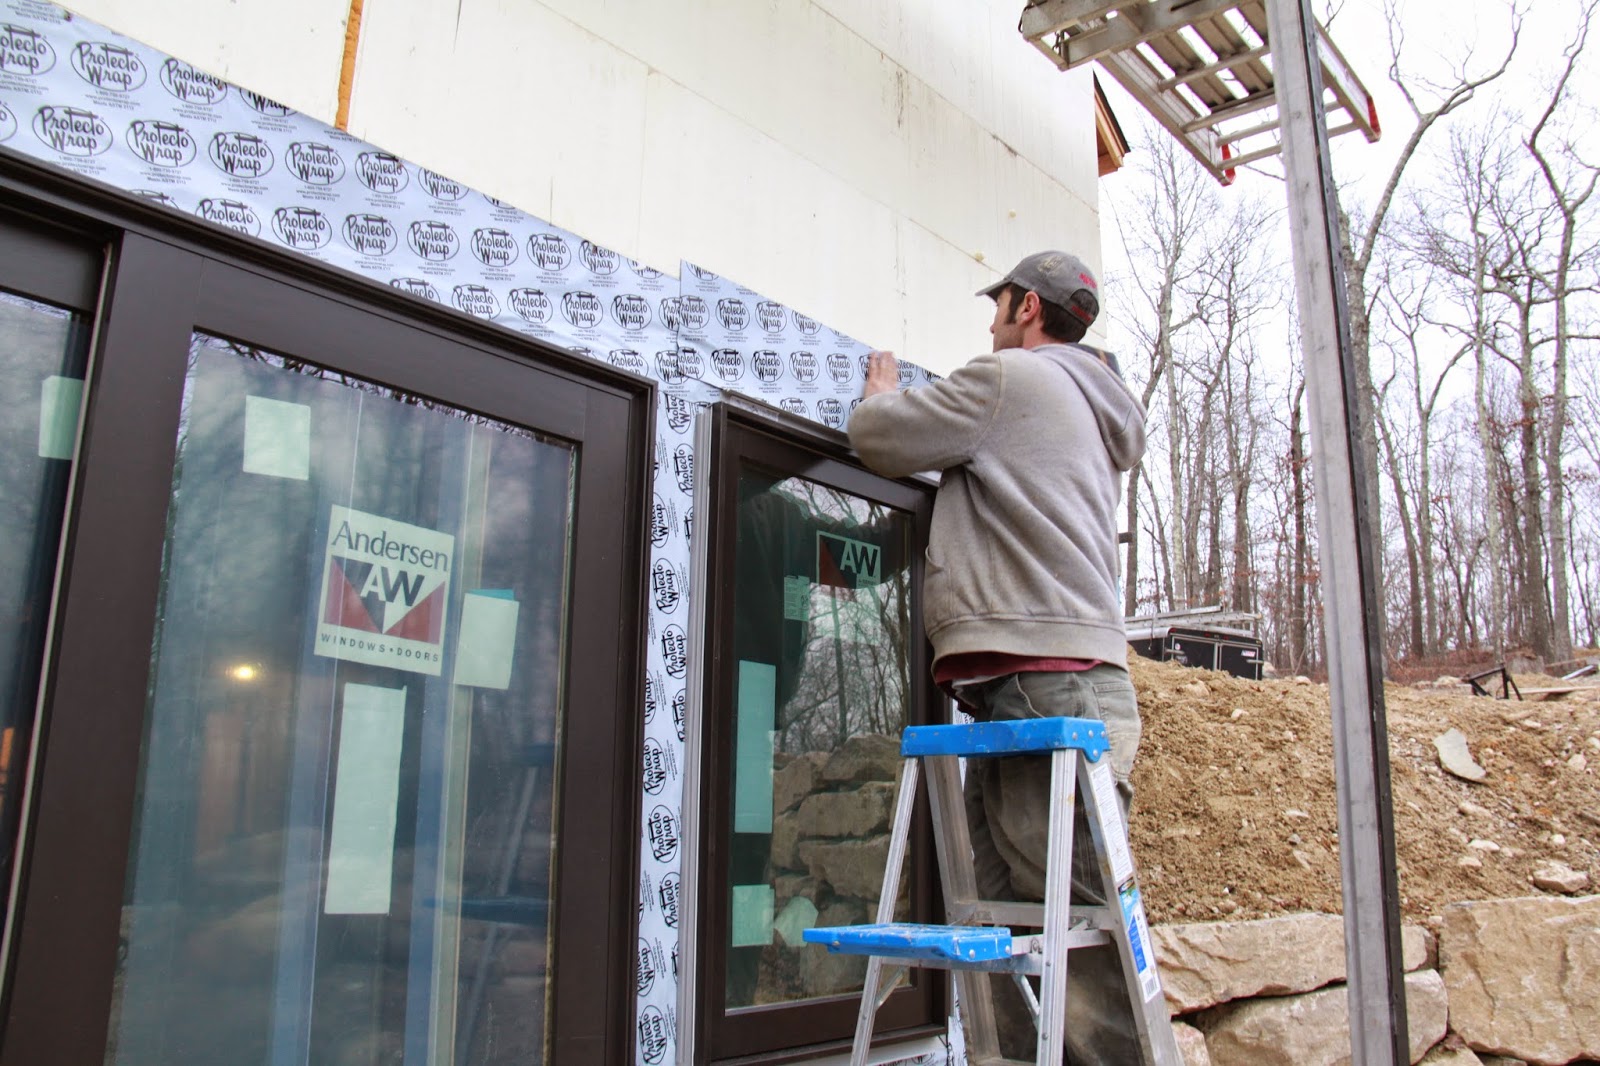
The first step was to waterproof the windows using flashing. We used Protecto Wrap, which is a window and door flashing adhesive tape. It is trimmed to fit, and then placed around the windows.
 |
| Lower level slider with flashing and trim. |
We decided to use Cedar Impressions to accent certain walls of the house, including the living room wall, dining room and near the front door. Not only are the Cedar Impressions an excellent quality, they help to break up the double 4 vinyl siding and add a more decorative flair.
Each piece of Cedar Impressions siding comes with it's own thermometer to ensure precise installation according to each panels temperature at the time of installation. The indictor lines on the side line up with corresponding lines on the next panel for exact spacing according to temperature. This allows the panels to expand and contract without buckling or being spaced too far apart.
Below are some photos of the dining room wall being sided with Cedar Impressions.
 |
| Installing Cedar Impressions above the dining room window. |

A skill saw on a track was used on a specially designed table to cut the siding to fit. We were able to borrow this set-up from our friend Mike.
A jig saw is used to make more precise cuts.
We chose the color Mountain Cedar for the siding, which worked perfectly to help create the mountain style look we are trying to achieve.
Once winter was upon us, siding was put on hold. It was too cold and unsafe to work on ladders outside, so indoor projects moved to the top of the list…plumbing, electric, sheetrock, etc.
Steve started siding again just as things started to thaw… Below Steve is finishing up the siding around the front door. This was in the beginning of April.
Once all the siding was completed, the next step is to install all the soffit. The soffit goes under all the overhangs. Before installing the soffit, nailers need to be put in place, then J-Channel and finally the pieces of soffit can be cut to fit. The photos below show the soffit under the garage overhang. We also installed 5 recessed lights here to provide light in the front of the garage.

The siding continues with some work to do in the back of the garage, and then all the aluminum trim.
More photos to be added once we start the trim!


