Wednesday, October 22, 2014

The Roof is Finished! October 6, 2014.

We are excited to announce that the roof is finished!  No more wet house with puddles, and another big step completed!  Here are a some photos of the roof being finished, starting with the photo below which shows the house with the plywood completed.


For our supplies, we decided to go with Certainteed Landmark Shingles in the color Heather Blend.  We had several pallets of roofing materials delivered, and we ended up using 64 square of shingles.  So, we had approximately 6400 square feet of finished roof!  No wonder why the roof was such a long project!  That is a big area to finish!


Below is a close up of the shingle color - Heather Blend.


The garage was the first area with plywood, and first to be shingled as well.  To finish the roof, the first step is to apply the the ice and water to the eaves, valleys, low angle roofs, and any other area needed.  The product we used for this was Certainteed Winter Guard.  This is a protective layer made of asphalt, and will help stop ice dams on the roof in the winter, which can damage the roof, and cause leaking.


In all areas not covered with the ice and water, another protective wrap is placed, which is usually tar paper.  BP Builders suggested using Titanium UDL30 instead of tar paper.  This is a synthetic roofing underlayment which provides a water, air, and vapor barrier under the shingles.  It self adheres to the roof, and also provides a more slip resistant working surface with small modules on the surface of the material.  I was most impressed with the 40 year warranty on the product, which will surely outlast the shingles!


Before the roof shingles could be completed, we had to finish up all of the roof framing.  We had a couple of areas above our windows in the gable ends which required some traditional framing. Because our house is so well insulated due to the ICF construction, we wanted to make sure that these areas not built with ICF were also well insulated.    We found a product called Zip System, which is a combination of a sheathing panel (like plywood), and foam insulation.  It's made of engineered wood and continuous foam insulation.  So this system does not allow thermal bridging, creating a better insulated area.  We used the 1 1/2" Zip Sheathing, which provides an R-Value of 6.  We will also use spray foam insulation, making the walls R-49.


The Zip sheathing can be seen in the photo below in the gable end over the dining room.  We also used the zip sheathing in the wall of windows in our living room.


We also had to finish the roof over our covered porch, including the framing, and the plywood. 


The photo below shows the finished porch roof and all of the plywood on the dining room roof has been completed as well. 

Once the framing was completed, the roof shingles could be continued.  Since the roof is steep (10/12 pitch), it's difficult to walk on, and roofing brackets with 2x6 boards were utilized to provide a surface to safely work on, as shown in the photo below.   


Some areas of the house were covered with protective wrap (pictured below) as the roofing was completed.  The ICF does not need to be covered with this, only the areas that are traditionally framed with plywood sheathing.


The roof started to come together nicely when we could see the finished roof on the front of the house.
      

Here are some close ups of the roof completed.


And the roof is DONE!!!!  YES!!!!  It was finished on October 6th… about 5 weeks after we received the trusses.  It's nice to have a roof over our head… although much darker, we need power next!


Tuesday, October 21, 2014

TRUSS, TRUSS, and More TRUSSES! September 2014

The truss roof was a lot of work, and took longer than we had anticipated due to the complexity of the roof.  We had decided during the planning process that we would hire some help for the roof, and we hired BP Builders to help with some of the trusses and finish the roof afterwards.


The photo below is standing in the house, looking towards the back of the house.  The framed area is the master bedroom, bathroom, laundry room and closet.


The Lull was a fantastic piece of equipment for placing the trusses since it it easily maneuverable and can extend it's reach to place the truss almost exactly where we wanted it.  Technically, it's described as a telescopic forklift.  It's more maneuverable than it looks because it has all wheel steering and crab steering, so the front set of wheels and back set of wheels can steer separately.  I have never seen that before and thought it was pretty impressive.


The photo below shows us using the lull to place the first truss over the dining room.  You can see how far the arm is able to extend to reach the location of the truss.


Aligning large trusses in the foyer of the house.


We also continued to use the backhoe and crane to place trusses when this was the better choice.  Below, the trusses in the main section of the house are being placed.


In the photo below, you can see our progress with the trusses over the main part of the house and the dining room on the right side.


The design of the house incorporates a covered patio, and the framing for this was started as the trusses were being installed.  We had already poured the footings for the patio and backfilled.


In the photo below, the trusses have been placed over the covered front entry and are getting ready to be installed.


 The photo below is taken from standing in the living room, looking towards the kitchen, foyer and stairwell.  At this point, the trusses have been partially installed, and there is no plywood on the roof.


This photo was also taken from the living room, looking at what will be the kitchen!


The front entry roof has been completed with a small overhang, and you can see the plywood on the backside of the roof.


The dog is just too cute not to include photos of him.  But don't let his looks fool you.

He is out at the building site almost every day in the good weather, and he loves overlooking everything from this rock, and letting us know as soon as someone pulls up the driveway!


We were really happy when the last truss was placed… after 163 trusses, this was a fantastic accomplishment!  Below, the large wall of windows is being framed.  


Inside view, looking at the foyer and stairwell (below).


Inside view taken from the front door, looking at the living room (below).  Some of the plywood has been installed on the roof.


You can see the framing of the overhang over the living room windows (below).  The trusses had to be specially designed to be able to accommodate this 2 foot overhang, with a top section of 3 foot overhang.  The end two trusses had to be built lower so that the framing for the overhang could be attached to the top of the trusses, and therefore provide enough support for the weight of the overhang.  


Next we will be finishing up the plywood and then shingles!

Saturday, October 18, 2014

163 Trusses and a Crane! End of August 2014.

The delivery of the Truss system was a big day!  The trusses took about two weeks to come in once they were ordered, however a lot of time was spent before this to design the roof.  The truss company engineered and designed the system and a meeting was held with the Truss company before ordering to make sure all the details were correct.  The trusses were delivered in one oversize load.  The load was too wide to make it up the driveway, so they were unloaded on the side of the road.


It was pretty impressive to watch the trusses being unloaded.  The trusses are placed on rollers that are part of the trailer so that they can slide off the trailer.  In the photo below you can see the front of the trailer being lifted up.  Once the trailer is all the way up, the driver then drives forward quickly (or backs up, then drives forward quickly) and the trusses roll of the trailer and onto the ground in one quick dump!


In the photo below the trusses are almost completely unloaded.


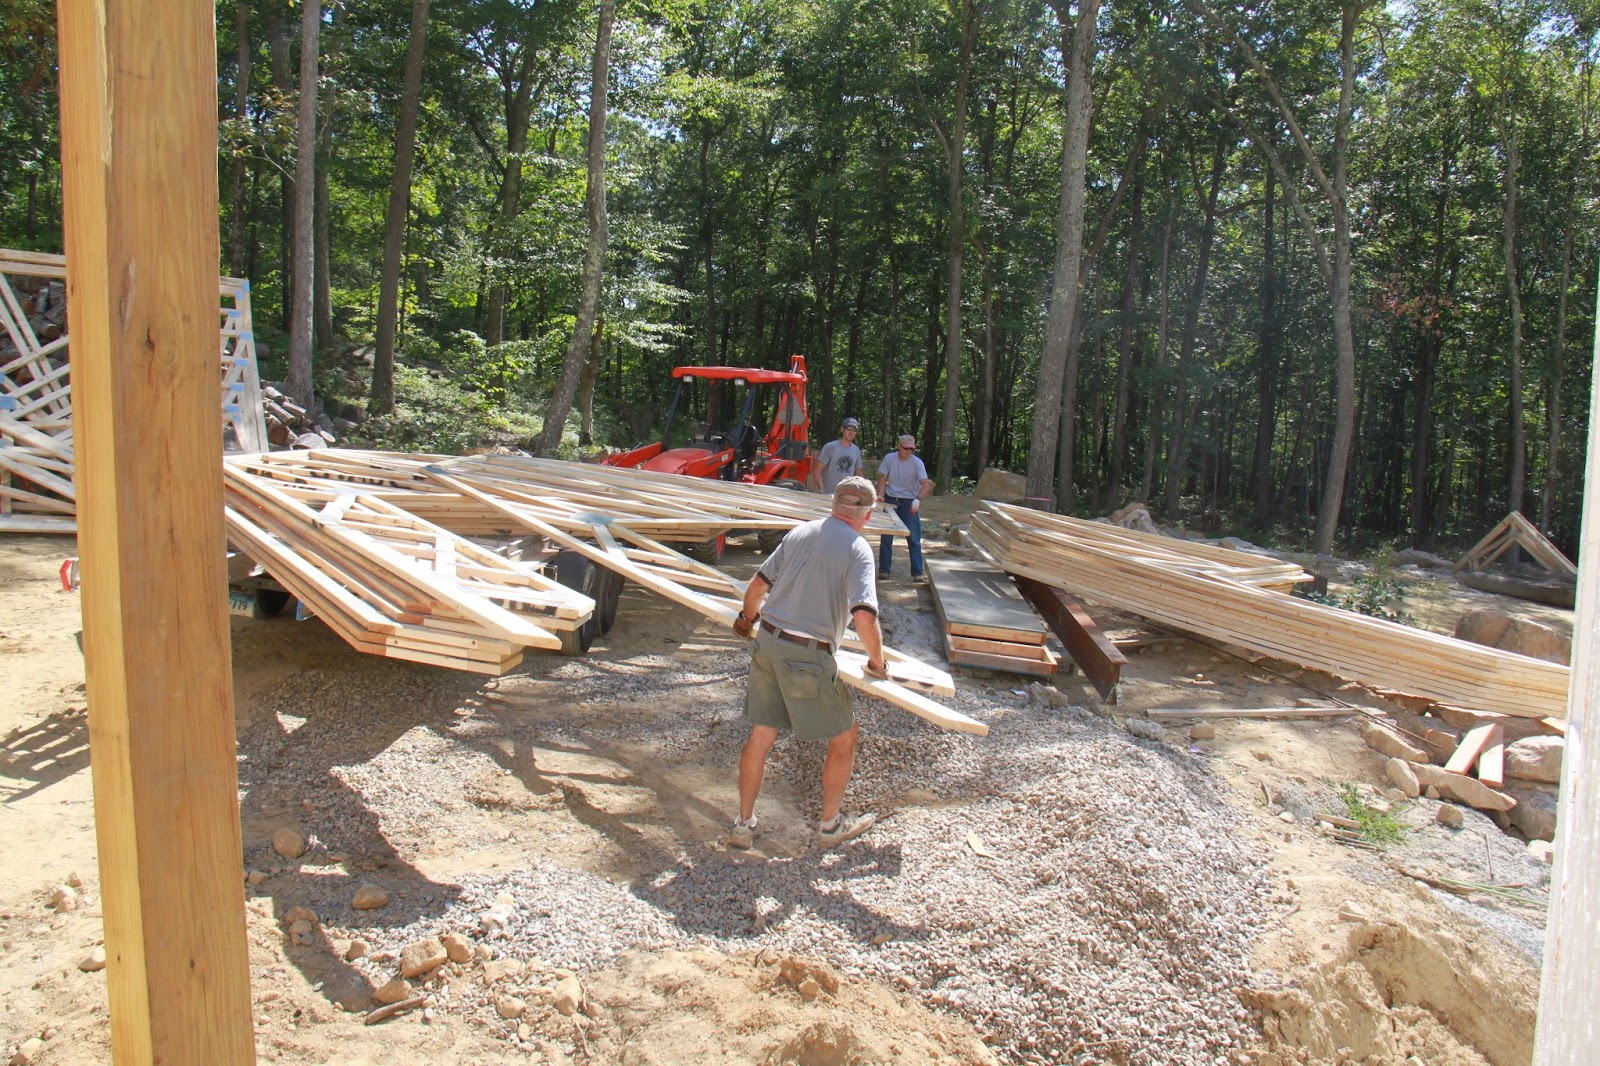
And then we were left with a massive pile of trusses, that had to be moved up to the building site.  We knew this would be a big project, so we allocated the entire day for this.


To move the trusses, we hand loaded the trusses onto the trailer, or onto the forks of the Kubota and brought each load up the driveway, being carful not to damage any of the trusses.


The loads were a lot wider than the driveway, so it took some finesse (and lots of time) to get the trusses up the driveway!


We strategically unloaded the trusses, and placed each set of trusses in a location that would make it easier to move the trusses onto the roof.


There were piles of trusses everywhere!  The trusses in the photo below are for over the foyer.


Day 2 of Trusses, and the first day of truss installation, we got to try out the crane.  Most people rent a crane when installing trusses… but we decided to make one!  A long piece of square metal tube was purchased and this would become the arm of the crane.  Attachment points were made on the arm at multiple points (both ends and middle) with bolts and metal brackets that were welded to the arm.  The photo below shows how the crane was attached to the backhoe, using a chain and cable to provide support and stabilization.


Below shows the end of the crane arm, with an electric chain hoist attached that enables raising and lowering of the load.  (We used the hoist for the first day, but after that, we found it was easier to place the trusses without the hoist.)


Then, the crane was put to the test with the first truss, which weighed around 300 pounds!  We weren't sure how well the crane would work, but it lifted the truss without a problem, and we were able to place the first truss!  Although it's not shown in the photo, we placed two guidelines on either side of the truss and each guideline was used to help steer the truss into position.


First big truss placed!!!


 Once the first truss was placed, we started working on the trusses in the back part of the house over the master bathroom.  There were about 20 trusses to place in this area.  Before placing any trusses, exact measurements had to be marked out to make sure that the trusses were being placed at 16" on center.


Once the truss was in the proper place, it was nailed to the sill plate.


On the other end of the truss, metal hangers needed to be nailed in place to hold the trusses to the beam (can't see the hanger from the photo).   


By the end of the first day of trusses, we felt like we had made good progress.  Below you can see our accomplishment for the first day of truss work, and a full view of the crane.