Wednesday, September 10, 2014

Garage Roof - August 2014

A lot of thought went into the design of the garage, as it will serve several purposes, in addition to storing our vehicles.  The back portion of the garage will be a wood workshop, and the right hand bay of the garage will be the mechanic area, with a car lift, and metal shop.  With this design, the garage is HUGE (42x42), but once the areas are divided, it should work nicely for the intended use.  And yes, it's actually bigger than the house!

The garage framing was started by building the load bearing wall, which splits the garage lengthwise.   The wall divides the garage bays and the workshop area of the garage.

Structural wall and beam in the garage.
Since the garage has a 13 foot ceiling in the front half, this will provide space for a beautiful attic above the garage bays.

To start the attic floor, the floor joists were cut, placed and installed.

Measuring and cutting the floor joists.

Nailing the floor joists.
Once all the joists were placed, and nailed, the rim board was added and secured.

Installing the rim board
 Last, the sub flooring was added… and our attic floor was finished!


Now, framing the roof could begin!  But first… our material delivery!  Actually, there were many deliveries, but I was there for this one, and was able to see how the materials are delivered.  The delivery truck has a built in crane that lifts the load all at once, and places it on the ground.  The truck driver operates the crane.  Pretty cool, and I couldn't imagine having to unload this by hand.  

Delivery of framing materials for the garage roof.
 First, the load bearing wall was continued to the height of the roof.  And then the roof rafters were installed in the back portion of the garage.  Also, note in the photo below that the opening in the floor will eventually be a drop down staircase to access the attic.

Structural wall for roof rafters.
Roof rafters installed in back portion of garage.
 Next, the front portion of the garage roof framing was started.  The ridge beam was lifted into place, and the remaining front and middle rafters were cut and placed.

Roof rafter installation completed!
Inside the attic above the garage.
Installing hurricane ties.
Installing plywood on the side of the garage.

Finishing the plywood on the gable end of the garage.

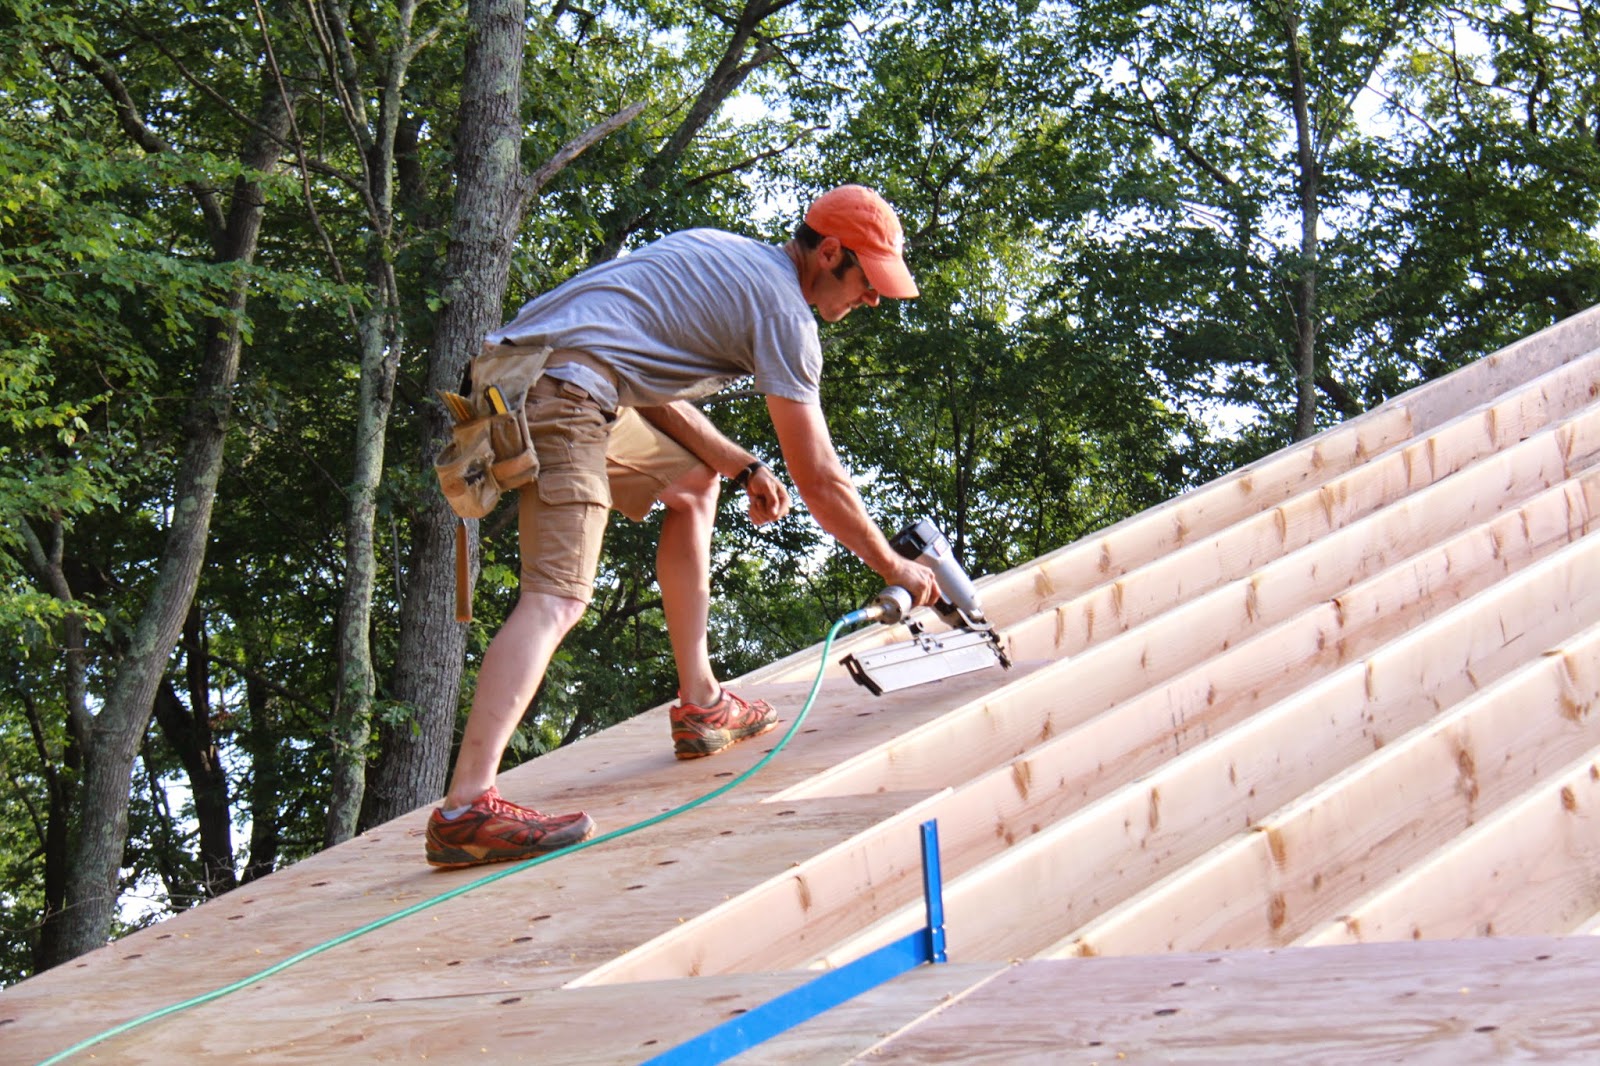
Next, the plywood on the roof was started… and there is a LOT of plywood on this roof!

First section of plywood on the roof being nailed!


Installing plywood on the front of the garage.
In the photo below, you can see that the front pitch of the garage roof is steeper than the back half of the garage.  The front pitch matches the roof pitch of the house, and the back portion was built like a shed roof.  This was designed specifically to keep the height of the garage roof as low as possible, as to not overpower the house.  You can also see from this photo that the back portion of the garage is below grade.

Plywood on the back of the garage roof almost complete.
Standing inside the garage feels more like an industrial building, than a residential garage, since the ceilings are so high!

Interior of garage, looking into workshop area/back portion of the garage.
We designed a false dormer into the front of the garage roof, to break up the roof, and add some visual interest.  This was installed after the plywood was down.

Building the false dormer.

Dormer completed.

The back of the house.
The front of the house.

Tiller barking at me as usual.

Tuesday, July 29, 2014

The BIG Pour! July 2014

The day to pour the concrete walls had arrived!  We decided to do an "alpine" start, and arrived onsite before 6:00 AM to finish up all the preparation for the pour.  We still had a lot to prepare, but we finished just before the trucks pulled into the driveway at 12:30!  We completed all the bracing for the doors, windows, and seams.  And we did one last check to ensure the walls were straight, level and plumb.

View of interior with bracing and scaffolding.

View of garage interior with bracing and scaffolding.
This was the biggest pour of the project; we had ordered 65 yards of concrete, which came in 6 concrete trucks.

Concrete Trucks in the driveway.

Concrete truck filling the pump truck.
We also needed a concrete pump truck so that we could easily fill the walls with concrete. This was the second time we used the pump truck, and this was the same truck that came for the basement walls... with a 140 foot reach!  


Pouring with the 140 foot pump truck boom!
Pump truck boom over the garage.

View from the back of the garage.

Pump operator controlling the pump while being able to see the pour from inside the house.
It is only recommended to pour up to 4' of concrete at one time, and since the house walls are 9' tall and the garage walls are 13' tall, it took three rounds to completely fill the walls.  As the concrete was filling the walls, the walls were vibrated to help move the concrete down.
Close-up of pouring concrete into the walls.


To make sure that concrete filled below the windows, a vibrator was used to pull the concrete under the windows through holes in the window bucks. 

Pulling the concrete under the windows with the vibrator.
Once the walls and windows were filled with concrete, the concrete needed to be screened to create a level surface.  This was done on the windows and the tops of all the walls.

Screeding the concrete off the window bucks.
Removing the excess concrete from the top of the walls.
Before the concrete was set, anchor bolts needed to be placed.  We had the anchor bolts pre set in pieces of wood so that they could be placed quickly.

View of the top of the walls with the anchor bolts placed after the concrete was poured.  
A very long day, but we were excited that this step of the house building process was finished!

Sunday, July 27, 2014

ICF Walls - July 2014

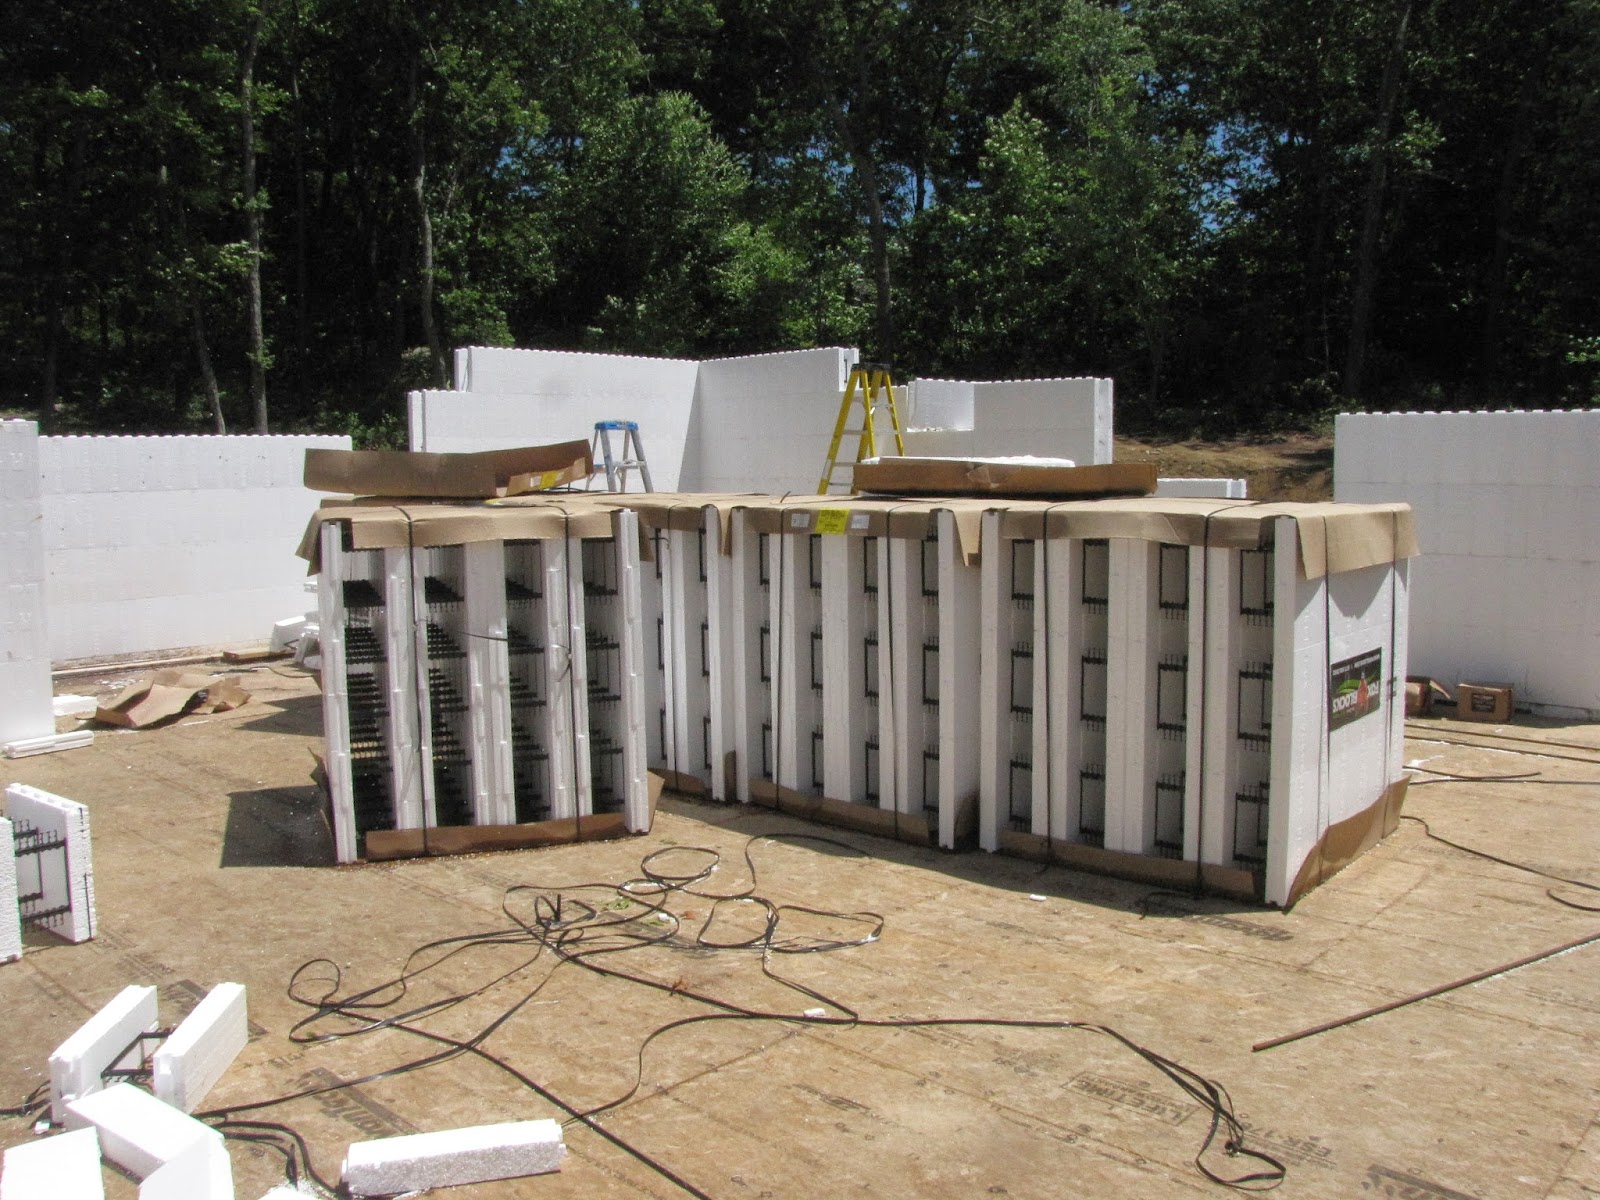
We started building the house walls mid July, and they went up quickly!  The ICF blocks were great to work with, and it was exciting to see the walls going up!  The ICF blocks come in pallets as pictured below, and are either straight blocks, or corners.  The pallets of blocks filled the house! 


Below is a photo of the walls of the house partially built, and you can see the pallets of ICF blocks inside the house.
 

The blocks were relatively easy to work with.  They fit together like legos and just need to be cut to length around the windows and doors. 

Steve working on a corner.

 
Cutting a block to length.
 
Placing a block on the wall.
Queen of the ICF!
As the ICF walls were built, horizontal rebar needed to be added every four feet in the interior of the blocks.  The rebar was bent at ninety degrees to go around the corners, and cut to length as needed.  Vertical rebar was also added before the walls were filled with concrete.

Bending the rebar to fit a corner.
The windows needed to be cut to the rough opening size and then window bucks needed to be added around the windows.

Cutting out a window opening.

Fitting the window bucks to the window openings.
As the walls were being finished, bracing was added to keep the walls straight and level.  The bracing also provided support for a scaffold, which made working on the top row of blocks much easier.  However, the scaffold's main job was to provide a place to stand when it was time to pour the walls with concrete.  

Walls with bracing and scaffold.

Measuring for the top row of blocks.
Once all the ICF walls were built and the window and door bucks were installed, bracing needed to be added to secure any of the ICF joints.  We used plywood to brace the seams as well as the window and door bucks.  Both the interior and the exterior needed to be braced, which took two people, three days to complete!  LOTS of bracing was added!  We did not want any blow outs during the concrete pour!

 
Installing the plywood bracing above a door.


Bracing on the exterior of the house.
The last beam in the house that needed to be added was above the windows in the living room.  This was lifted in place by hand! 

Beam over the living room windows.
The garage was prepped in the same fashion as the house with bracing on the walls, and around the windows and doors.  All openings also needed to be supported before the concrete pour as shown in the photo below. 

Garage door opening with supports installed before the concrete pour.

Bracing and scaffolding set up in the garage. 
 
View of house from walk-out level; garage is on the right side.