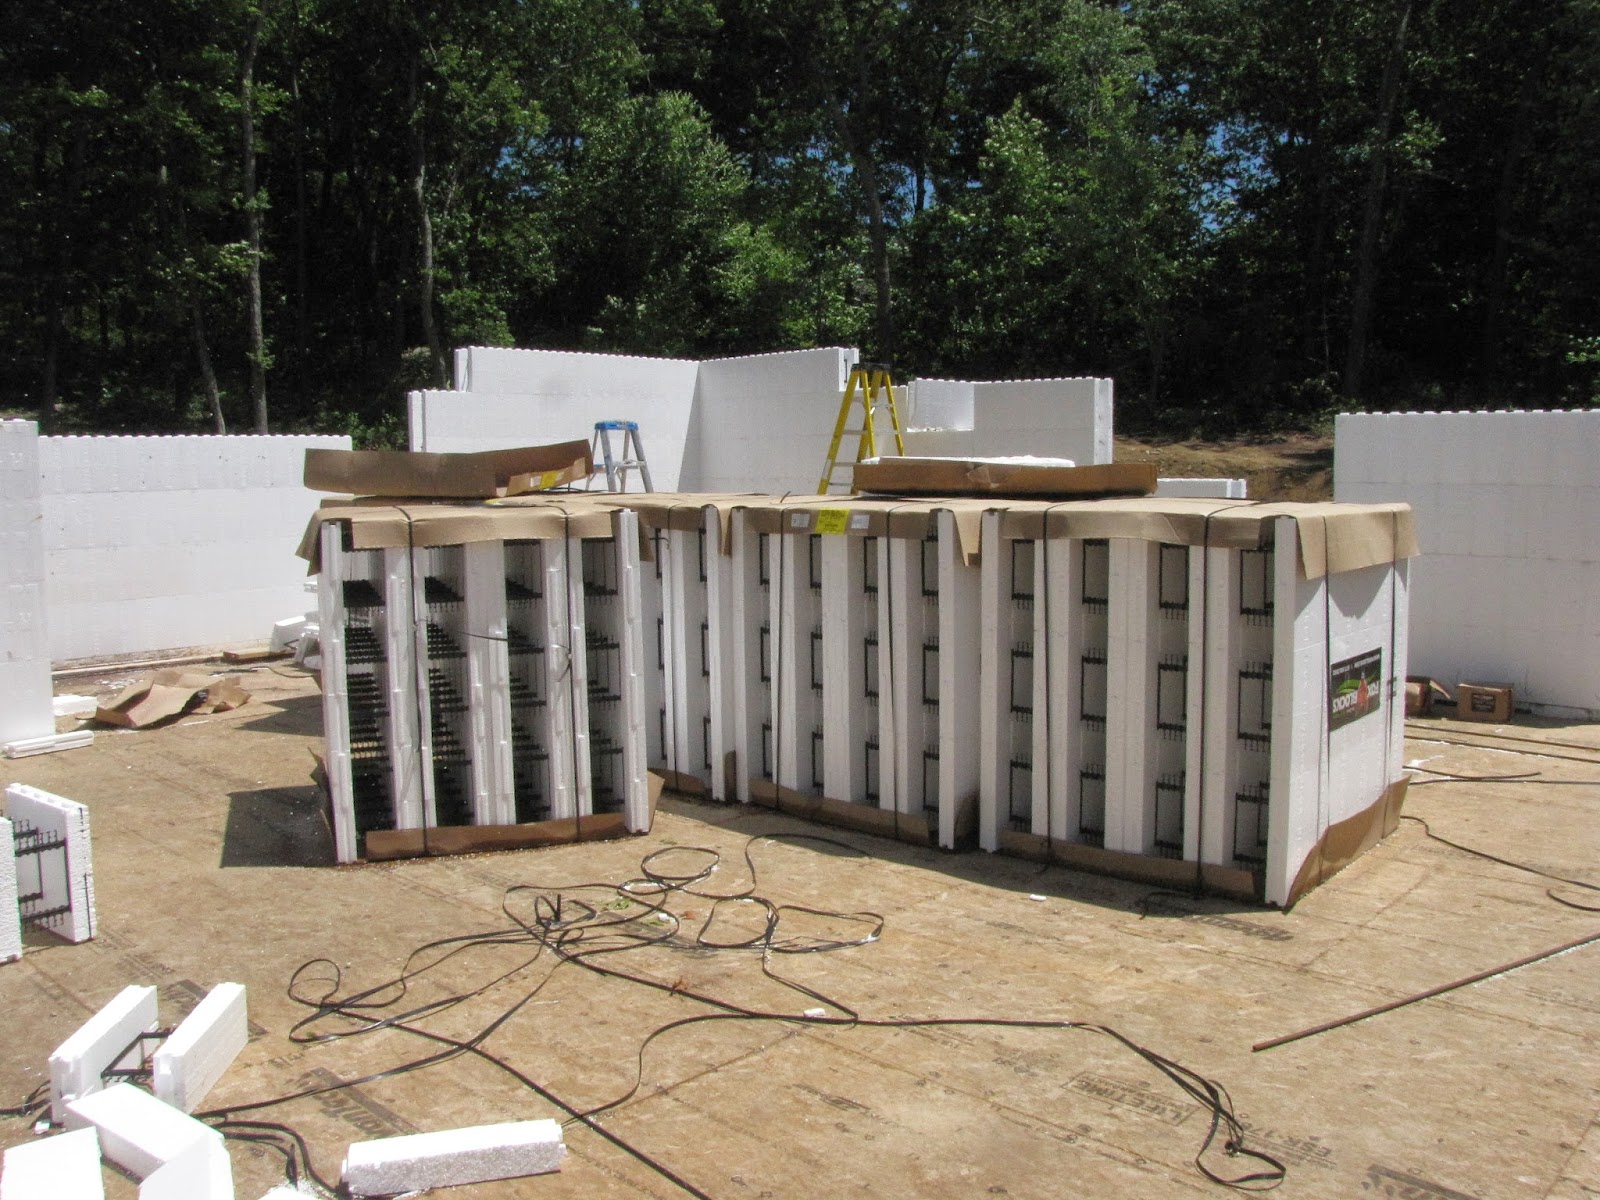
We started building the house walls mid July, and they went up quickly! The ICF blocks were great to work with, and it was exciting to see the walls going up! The ICF blocks come in pallets as pictured below, and are either straight blocks, or corners. The pallets of blocks filled the house!
Below is a photo of the walls of the house partially built, and you can see the pallets of ICF blocks inside the house.
The blocks were relatively easy to work with. They fit together like legos and just need to be cut to length around the windows and doors.
 |
Steve working on a corner.
|
 |
| Cutting a block to length. |
 |
| Placing a block on the wall. |
 |
| Queen of the ICF! |
As the ICF walls were built, horizontal rebar needed to be added every four feet in the interior of the blocks. The rebar was bent at ninety degrees to go around the corners, and cut to length as needed. Vertical rebar was also added before the walls were filled with concrete.
 |
| Bending the rebar to fit a corner. |
The windows needed to be cut to the rough opening size and then window bucks needed to be added around the windows.
 |
| Cutting out a window opening. |
 |
| Fitting the window bucks to the window openings. |
As the walls were being finished, bracing was added to keep the walls straight and level. The bracing also provided support for a scaffold, which made working on the top row of blocks much easier. However, the scaffold's main job was to provide a place to stand when it was time to pour the walls with concrete.
 |
| Walls with bracing and scaffold. |
 |
| Measuring for the top row of blocks. |
Once all the ICF walls were built and the window and door bucks were installed, bracing needed to be added to secure any of the ICF joints. We used plywood to brace the seams as well as the window and door bucks. Both the interior and the exterior needed to be braced, which took two people, three days to complete! LOTS of bracing was added! We did not want any blow outs during the concrete pour!
 |
| Installing the plywood bracing above a door. |
 |
| Bracing on the exterior of the house. |
The last beam in the house that needed to be added was above the windows in the living room. This was lifted in place by hand!
 |
| Beam over the living room windows. |
The garage was prepped in the same fashion as the house with bracing on the walls, and around the windows and doors. All openings also needed to be supported before the concrete pour as shown in the photo below.
 |
| Garage door opening with supports installed before the concrete pour. |
 |
| Bracing and scaffolding set up in the garage. |
 |
| View of house from walk-out level; garage is on the right side. |

No comments:
Post a Comment