The delivery of the Truss system was a big day! The trusses took about two weeks to come in once they were ordered, however a lot of time was spent before this to design the roof. The truss company engineered and designed the system and a meeting was held with the Truss company before ordering to make sure all the details were correct. The trusses were delivered in one oversize load. The load was too wide to make it up the driveway, so they were unloaded on the side of the road.


It was pretty impressive to watch the trusses being unloaded. The trusses are placed on rollers that are part of the trailer so that they can slide off the trailer. In the photo below you can see the front of the trailer being lifted up. Once the trailer is all the way up, the driver then drives forward quickly (or backs up, then drives forward quickly) and the trusses roll of the trailer and onto the ground in one quick dump!

In the photo below the trusses are almost completely unloaded.

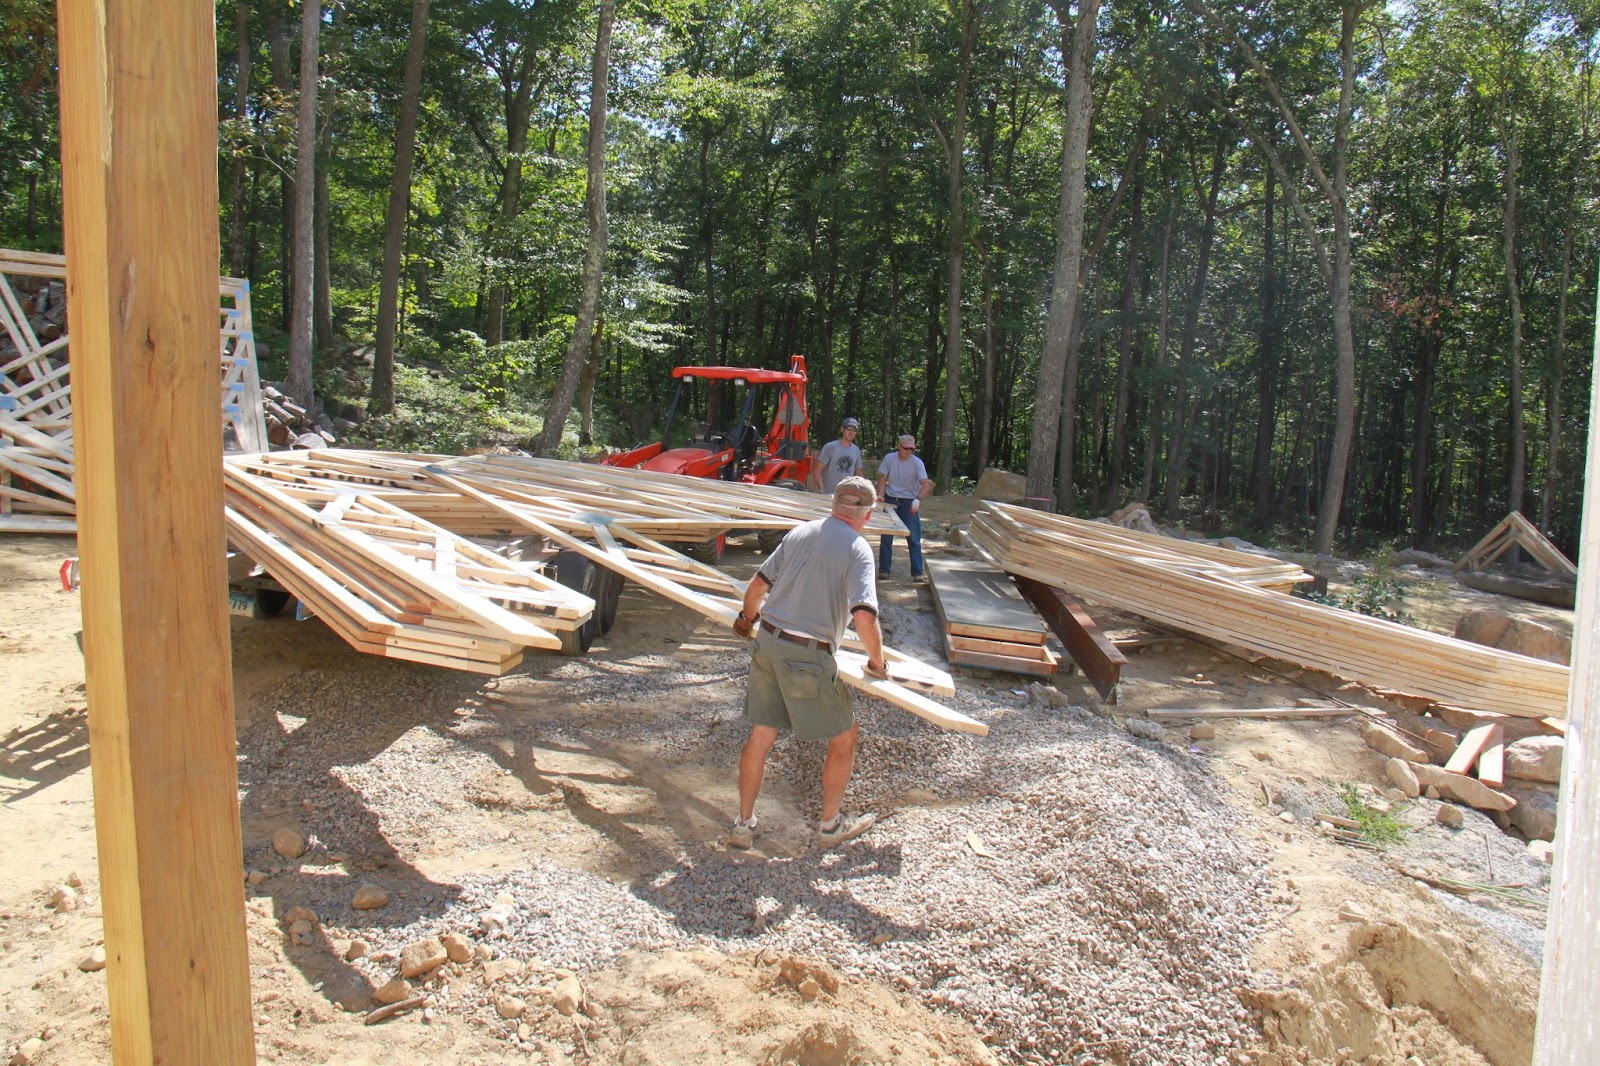
And then we were left with a massive pile of trusses, that had to be moved up to the building site. We knew this would be a big project, so we allocated the entire day for this.


To move the trusses, we hand loaded the trusses onto the trailer, or onto the forks of the Kubota and brought each load up the driveway, being carful not to damage any of the trusses.

The loads were a lot wider than the driveway, so it took some finesse (and lots of time) to get the trusses up the driveway!

We strategically unloaded the trusses, and placed each set of trusses in a location that would make it easier to move the trusses onto the roof.
There were piles of trusses everywhere! The trusses in the photo below are for over the foyer.

Day 2 of Trusses, and the first day of truss installation, we got to try out the crane. Most people rent a crane when installing trusses… but we decided to make one! A long piece of square metal tube was purchased and this would become the arm of the crane. Attachment points were made on the arm at multiple points (both ends and middle) with bolts and metal brackets that were welded to the arm. The photo below shows how the crane was attached to the backhoe, using a chain and cable to provide support and stabilization.

Below shows the end of the crane arm, with an electric chain hoist attached that enables raising and lowering of the load. (We used the hoist for the first day, but after that, we found it was easier to place the trusses without the hoist.)

Then, the crane was put to the test with the first truss, which weighed around 300 pounds! We weren't sure how well the crane would work, but it lifted the truss without a problem, and we were able to place the first truss! Although it's not shown in the photo, we placed two guidelines on either side of the truss and each guideline was used to help steer the truss into position.


First big truss placed!!!

Once the first truss was placed, we started working on the trusses in the back part of the house over the master bathroom. There were about 20 trusses to place in this area. Before placing any trusses, exact measurements had to be marked out to make sure that the trusses were being placed at 16" on center.

Once the truss was in the proper place, it was nailed to the sill plate.

On the other end of the truss, metal hangers needed to be nailed in place to hold the trusses to the beam (can't see the hanger from the photo).


By the end of the first day of trusses, we felt like we had made good progress. Below you can see our accomplishment for the first day of truss work, and a full view of the crane.


This comment has been removed by the author.
ReplyDelete